Hello fellow card makers,
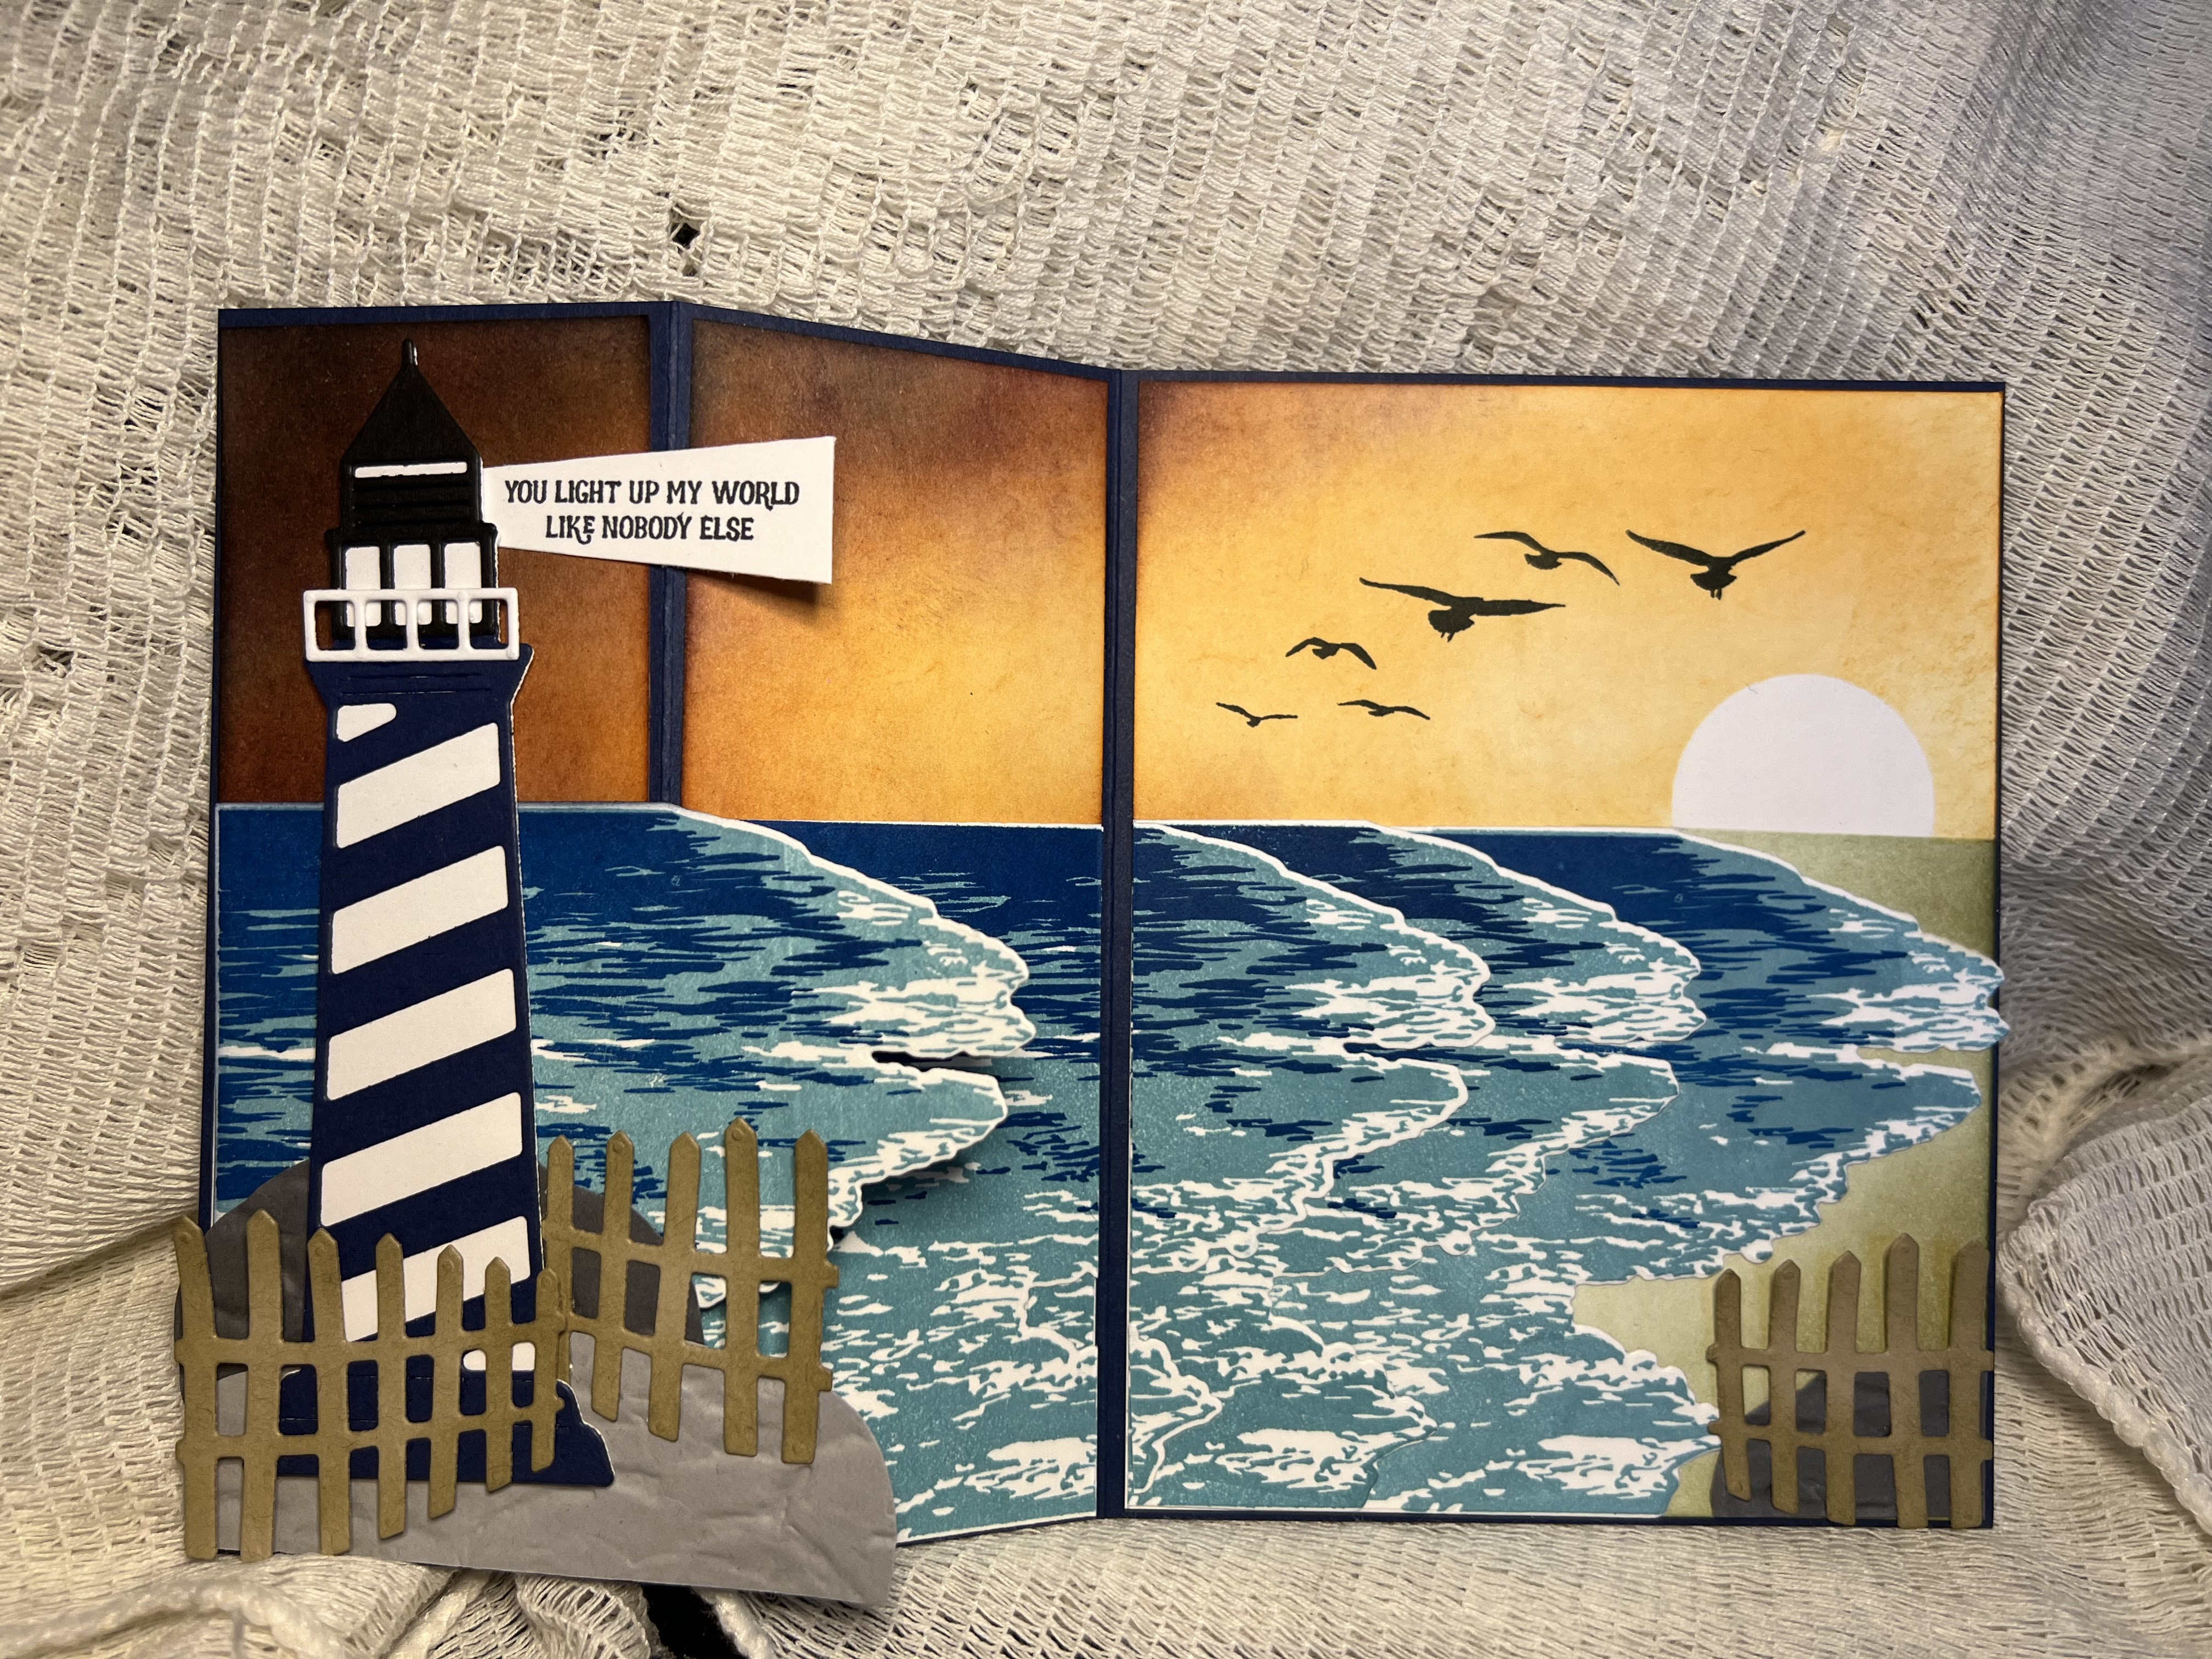
Thank you for visiting my blog! I have another fun-fold card for you. I call this a bay window fun-fold card - there maybe other names for this design as well. I made it into a Thank You card but this design would work for any sentiment. The card lays flat into a standard A6 (6 1/2 x 4 3/4) envelope. To create this card you will need a scoring tool or board, rectangle cutting dies, cardstock, stamps and die cuts to decorate.
Here's how you make this fun card:
- Cardstock:
- Card base: cut one piece 4 1/2 x 6 1/4; cut a second piece 4 1/2 x 6 3/4
- Front panel: cut a piece of brick background or white 4 3/8 x 5 3/8
- Inside panel; cut white piece 4 1/2 x 4 3/8
Note: I stamped the brick pattern on white cardstock and inked the edges.
- Scoring and cutting:
- Largest card base piece: score at 1/2", 7/8" and 6 3/8; first score line fold into a mountain or away from the front; second and third score lines are valley folds; burnish each fold
- Adhere the brick piece to the scored card base between the second and third score lines; wait of few minutes for the pieces to bond and then score through both layers so you may need to make a few passes, at 2 3/8 and 4 7/8 - both will be mountain folds - this creates the bay window
- Using rectangle dies, I used two different sizes but your windows can be the same size if you prefer, cut windows between the score lines on each panel
- Attach the two card base piece together: fold the 1/2" flap over the edge of the smaller card base piece and glue to the back, then glue down the next scored section (less than 1/2 inch) to the front. Once you do this step, the bay window form
- Open card and adhere the inside white panel as close to the fold as possible but do not cover the fold line - see below

Your card is now ready to decorate. I used several die cut sets from my stash to create the hanging pot, shelf, planters and pots. You will need to create a die cut that will act as the stopper for the bay window. I used a large planter and added leaves; I placed foam dimentionals on the back so the small flap on the right side of the card can slide in (see first picture). The card folds flat and fits nicely into the A6 envelope.

Here are a few other design ideas:
- Die cut or stamp a Christmas tree and presents for a Christmas card
- Decorate with furniture die cuts for a congratulations on your new home card
- Place pet (dogs, cats, etc) dies in the window for a Miss You card
I hope you give this fun-fold a try - its so much fun to make and the seasons and sentiments are endless. If you would like to purchase this card or see my other card designs, please visit my Esty shop.
Happy card making,
Kathie K.