Showing posts with label sympathy card. Show all posts

Saturday, April 2, 2022

Your Strength is an Inspiration

I love all ocean or beach themed cards. They are perfect for any sentiment and can be used all year long. Here's my latest card that I think will be a perfect sympathy card or note card that can be sent to someone you admire.
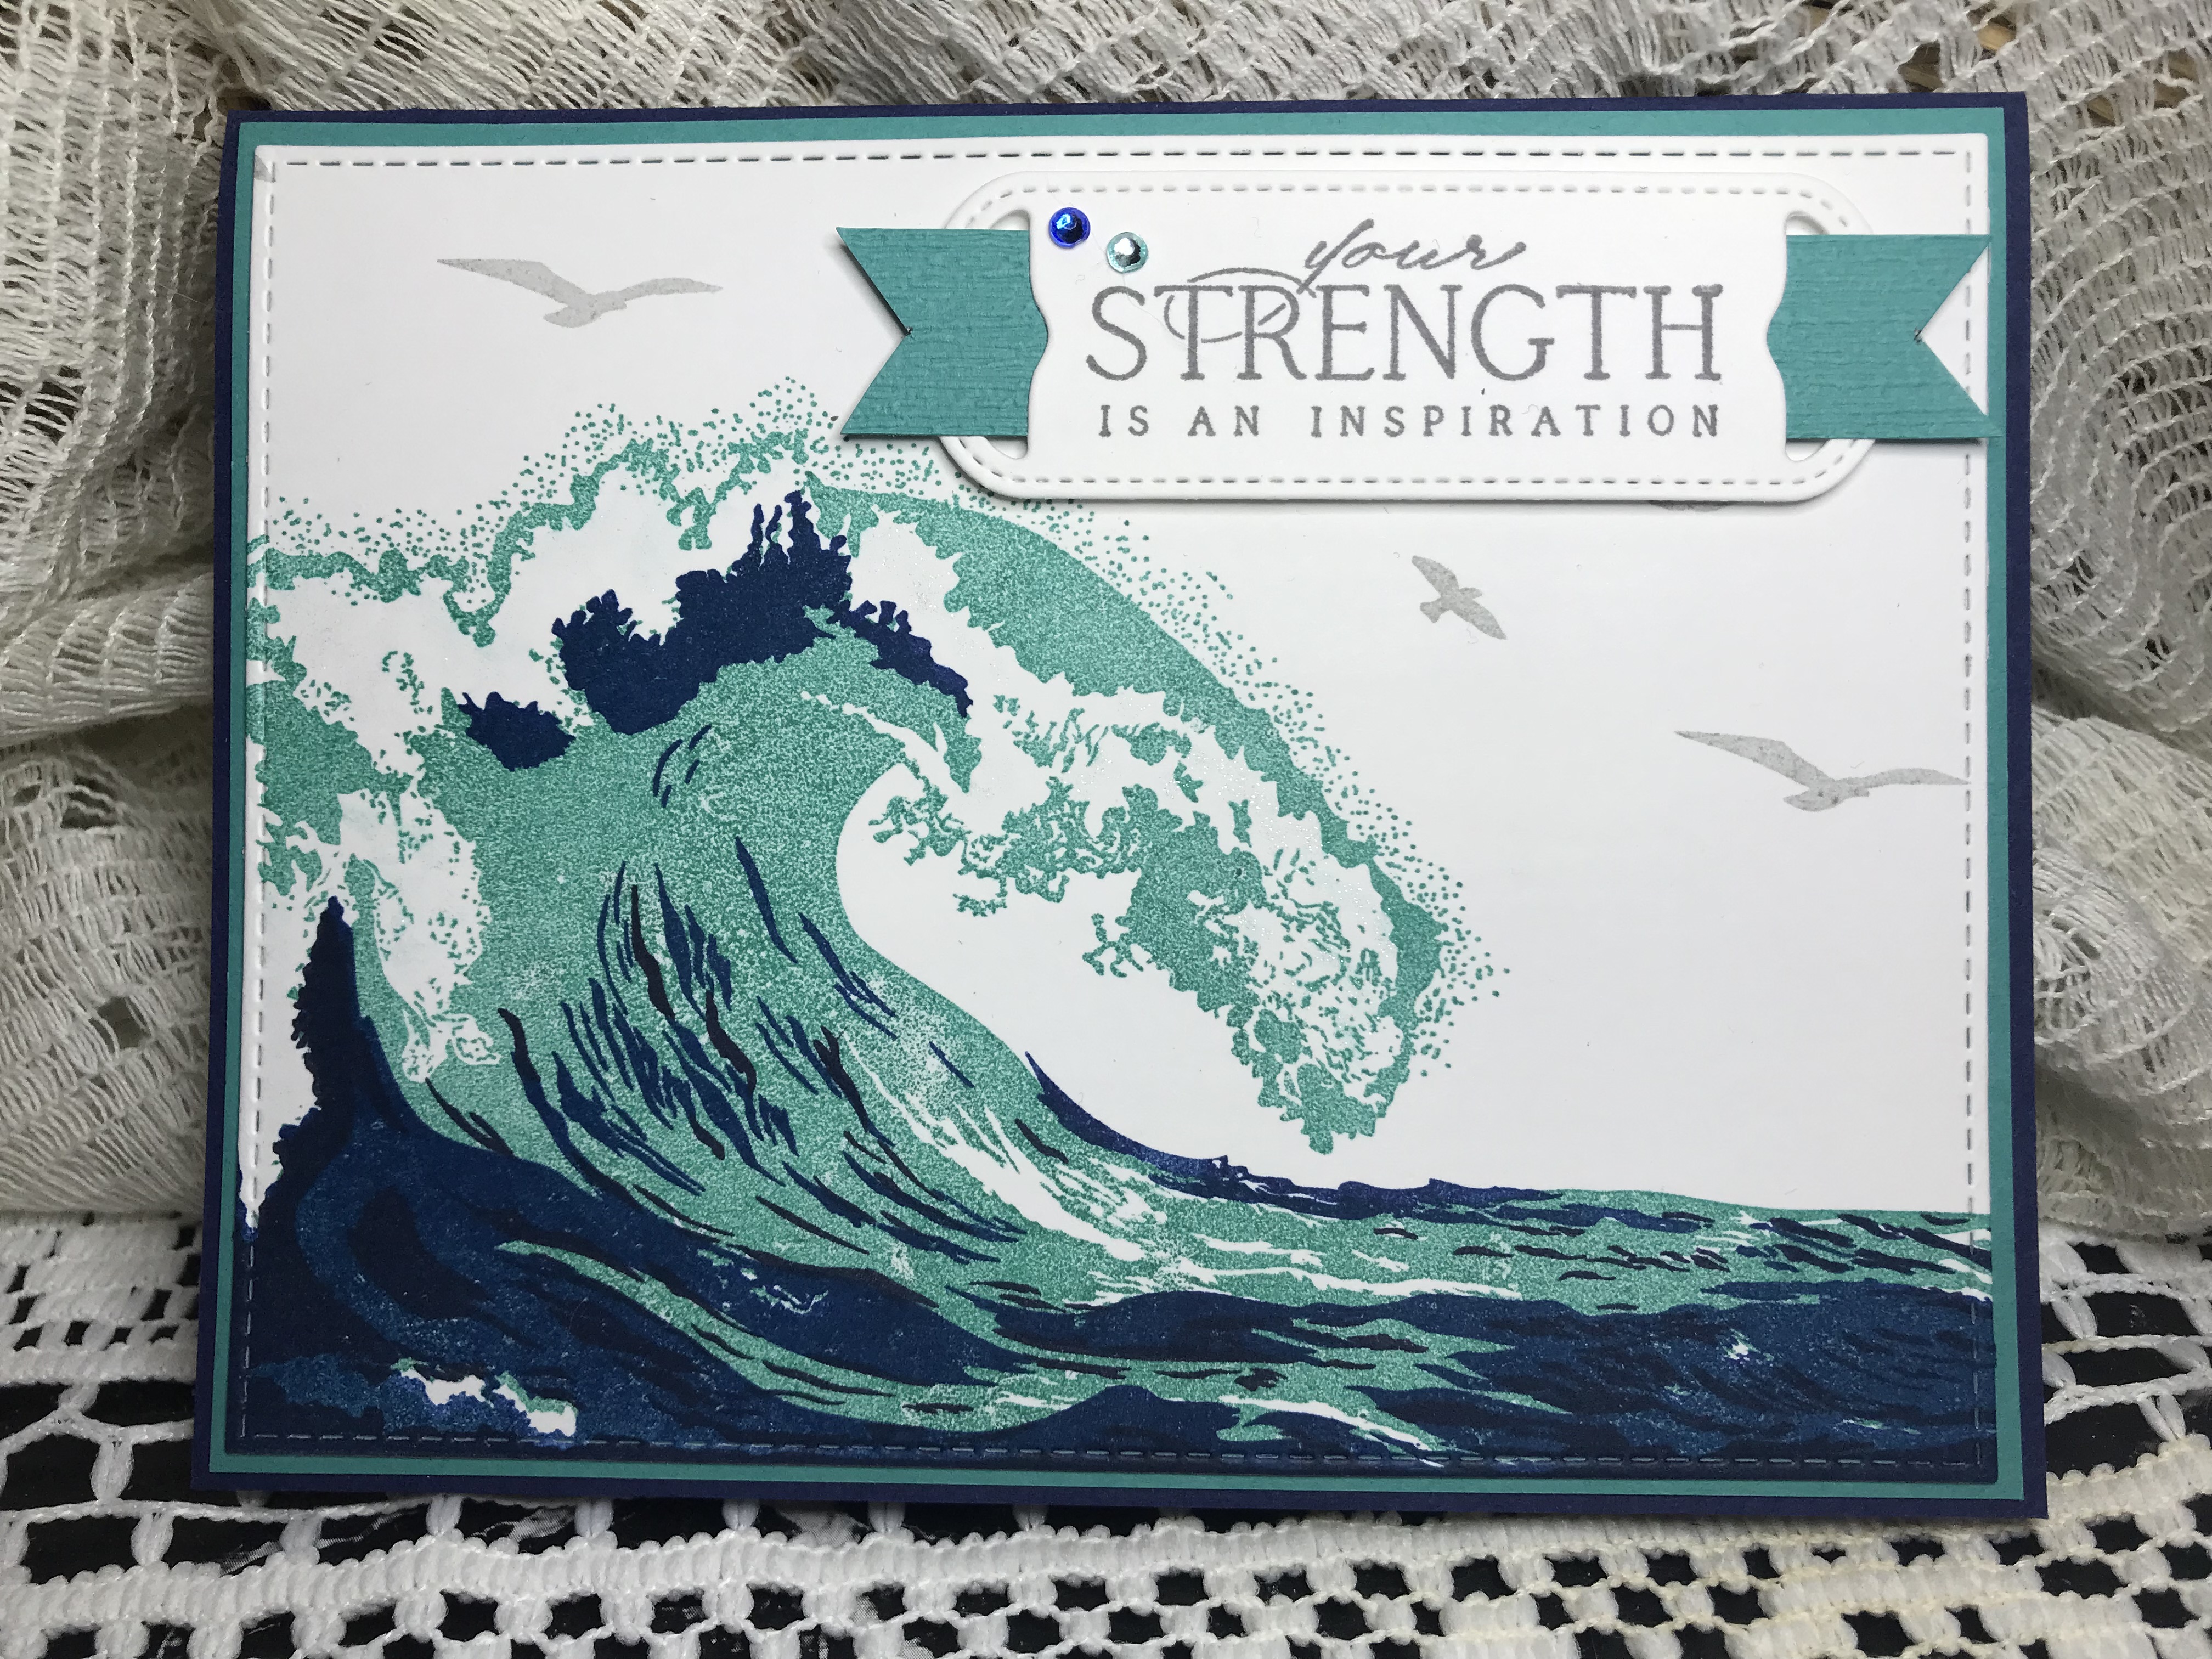

This card is so easy to make but looks like you spent hours making and it packs a big punch. Here are the supplies I used to make this card - if you are interested in getting the same supplies, I would be happy to help you with Stampin' Up products - just us the host code provided. These products will be indicated with an SU by the name.

Supplies:
  • Cardstock:
      • Night of Navy (SU) - cut 5 1/2 x 8 1/2 (score at 4 1/4 and fold in half
      • Bermuda Bay (SU) - cut 5 3/8 x 4 1/8 and 5/8 x 3 3/8 for ribbon
      • Basic White (SU) - cut 5 1/2 x 4 /14, 5 3/8 x 4 1/8, and approx. 3 x 1 for tag
  • Stamps:
    • Wave of the Ocean (SU)
    • The Wave (The Ton)
    • By the Sea 1
    • By the Sea 2
  • Inks:
    • Night of Navy (SU)
    • Pacific Point (SU)
    • Bermuda Bay (SU)
    • Smoke Slate (SU)
    • Basic Gray (SU)
    • Wink of Stella
  • Other:
    • Subtle texture embossing folder to create the ribbon
    • Wave of the Ocean die set (SU)
    • Stitched Rectangle die set (My Favorite Things)
    • Crystal rhinestones colored with Copic market B29 and BG13
    • Foam dimensionals (SU)
Instructions
Stamp the front layer first using the 5 1/2 x 4 1/4 size Basic White piece. Stamp the wave from The Ton (three-layer stamp) starting with Bermuda Bay for the first layer; Pacific Point for the 2nd layer and Night of Navy for third layer. Stamp the birds using the By the Sea stamp set in Smokey Slate. Cut the panel with the Stitched Rectangles largest die.

Layer the white layer onto the Bermuda Bay piece which can then can adhered to the Night of Navy card base.

Stamp the sentiment in Basic Gray and die cut using the Wave of the Ocean die set. Emboss the smaller piece of Bermuda Bay and cut fish tails to finish the ends. Thread the piece through the open ends of the sentiment die cut piece. Add foam dimensionals to the sentiment and add to the front of the card. Add Wink of Stella to the white parts of the wave to add a little sparkle and shine.

For the inside panel, stamp images from By the Sea in Smokey Slate - use the same stamps on the outside of the envelope.
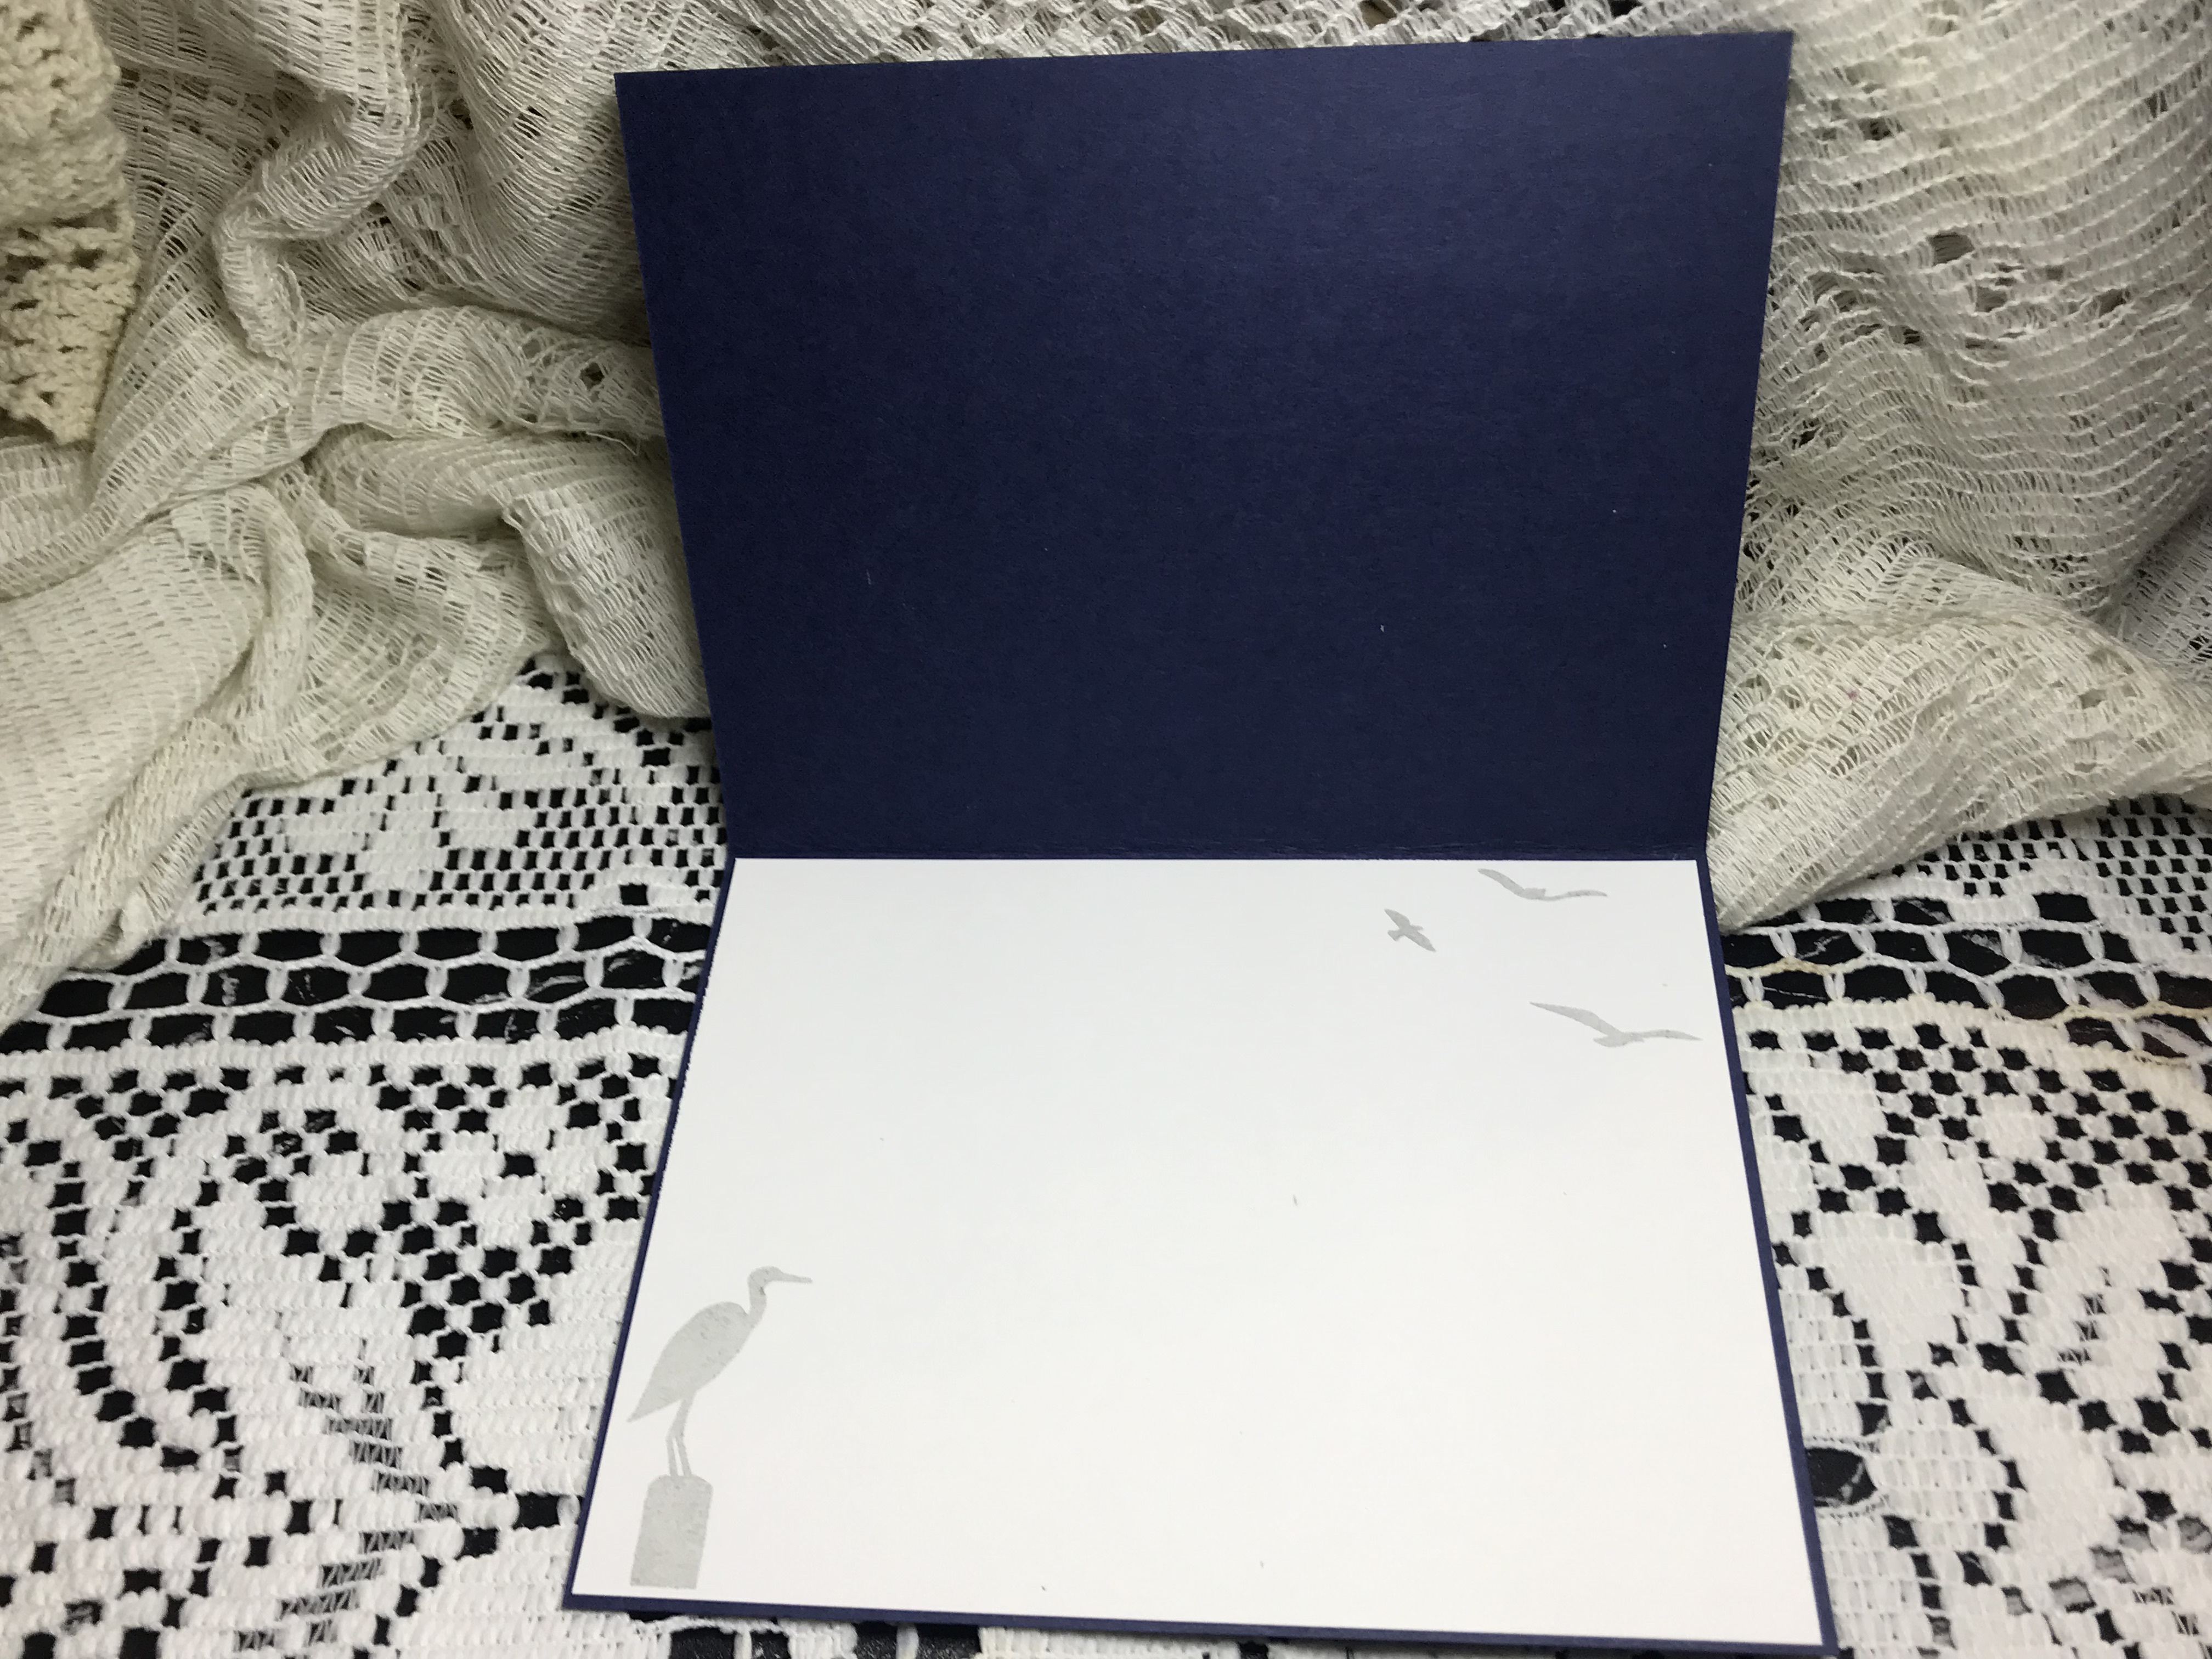

I just love this card and it was so easy to make. As a reminder, you can order the Stampin' Up products from me use this months host code 4HKYNC94 or by searching for my name Kathie Krawczyk, I would love to assist you with all your Stampin' Up products.

The card is also available on my Etsy shop here.

Thanks so much visiting by blog. Happy crafting!

Kathie K.


Tuesday, July 24, 2018

Mountain Scene Card Tutorial

Hello fellow stampers,

I can admit, I cannot draw or paint freehand. But I have found that I can get a realistic scenic image using sponges and torn post-it paper.

Here's another sponged background card that I made for a friends recent loss. I think the color combinations and images made the scenic view seem almost peaceful.


For this card, I wanted a setting sun. I first tore mountain shapes out of post-it paper. The trick here is to use the positive and the negative pieces. Use the negative pieces to sponge the mountains and positive pieces to sponge the sky.

On this card, I chose a setting sun but a night time scene with a full moon would look just as awesome. To create the sun, I used a circle punch with post-it paper. I masked off the mountain using the positive piece of post-it paper so the sun looks like its setting behind the mountain. To create the sky, start with the lighter colors closest to the sun and gradually add darker shades as you sponge towards the opposite edge.


Once the mountains and sky were sponged and dried, I repeatedly stamped the same evergreen tree use the stamping off technique. I stamped one image with my stamp fully inked and then without reinking, I stamped it a couple more times.  I think it gives the card dimension and depth.

To finish the card, I stamped a sentiment on a layered banner and added grosgrain ribbon.


This card could be used for any occasion or just to let someone know you are thinking about them. I hope you gives scenes like this a try.

Happy stamping!

Kathie K.

Airplane easel birthday card

  Crafting Joy: A Beautifully Designed Handmade Birthday Card Birthdays are a celebration of life, love, and the joy of making memories. Wha...